Use the canonical model from ACS solution store and run it in RTDI environment#
About this tutorial#
In this tutorial you will learn how to:
Enable a SmarTest 7 test program for using with ACS Edge
Run your test program in offline mode to trigger pulling the store app and running it on ACS Edge
The tutorial makes use of the store App “adv-dpat” on ACS Edge.
Compatibility#
SmarTest 7 / Nexus 3.1.0 / Edge 3.4.0-prod
Before you begin#
The following needs to be prepared by you upfront:
An RTDI virtual environment containing a Host Controller VM and an Edge Server VM
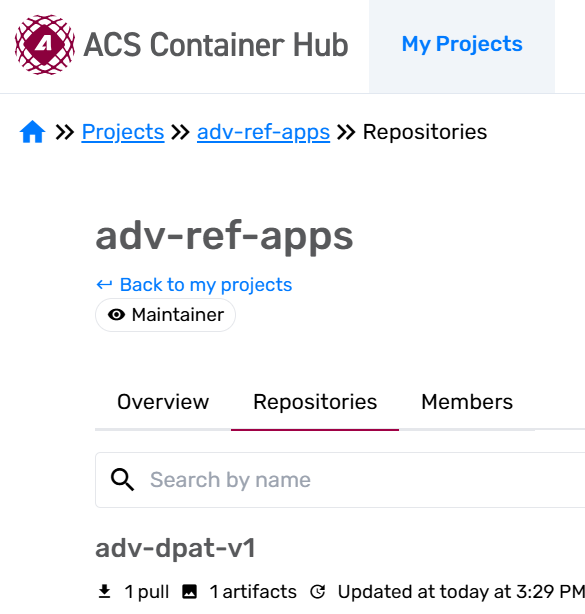
An ACS Container Hub user account and the account has the permissions to access the adv-ref-apps project on ACS Container Hub.
Login to the Container Hub
sudo docker login registry.advantest.com --username Your_Email --password Your_ContainerHub_Secret
Attempt to pull the canonical docker image
sudo docker pull registry.advantest.com/adv-ref-apps/adv-dpat-v1:canonical-31
If you can see these output, it indicates that you can no permission to access adv-ref-apps project. You should send feedback to us.
Error response from daemon: unauthorized: unauthorized to access repository: adv-ref-apps/adv-dpat-v1, action: pull: unaut
horized to access repository: adv-ref-apps/adv-dpat-v1, action: pull
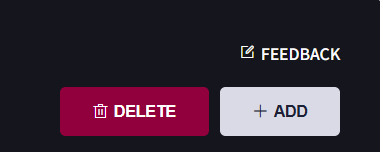
Click “FEEDBACK” on the right top of “Virtual Machine” page.
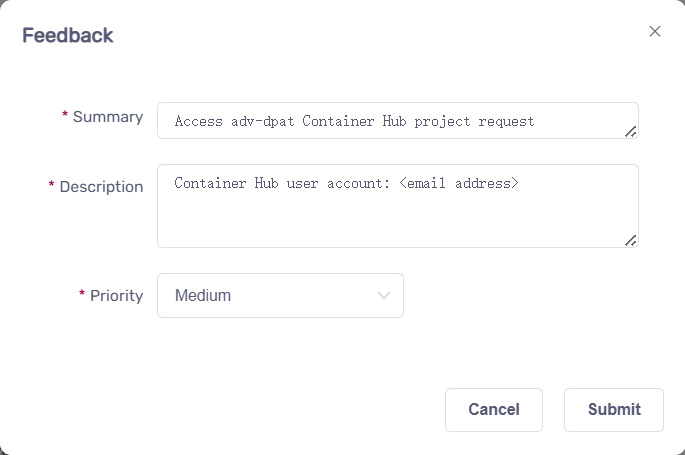
In the popped up “Feedback” dialog
Add summary
Access adv-ref-apps Container Hub project request
Add description
Container Hub user account: Your_Email
Click “Submit”
Procedure#
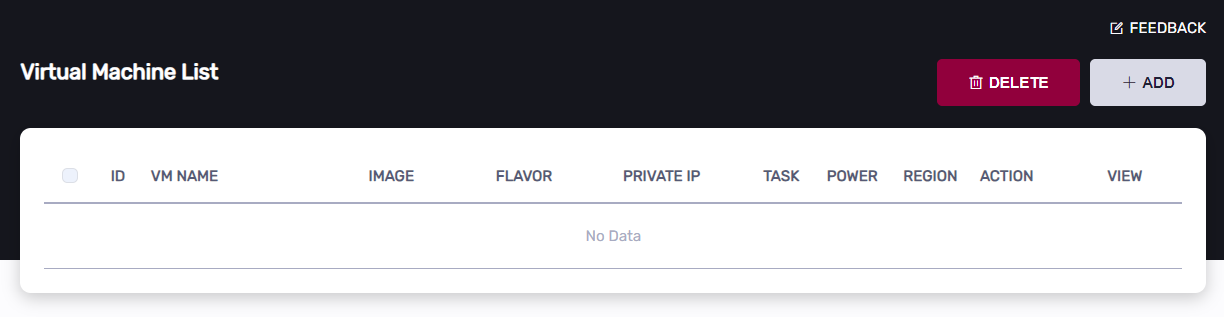
1. Create RTDI virtual environment from the “Virtual Machine” page#
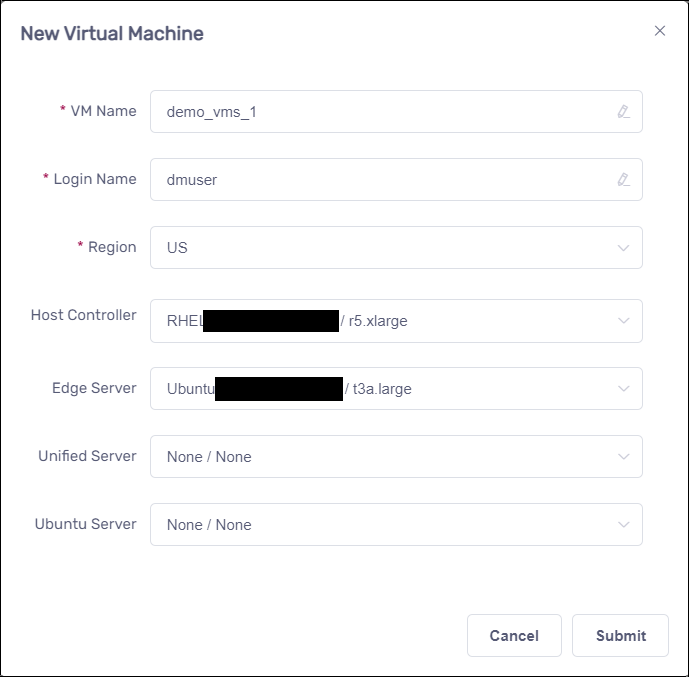
Click the “ADD” button at the top right of the “Virtual Machine” page
In the popped up dialog, enter “VM Name” and “Login Name”, select “Host Controller” and “Edge Server,” then click the “SUBMIT” button.
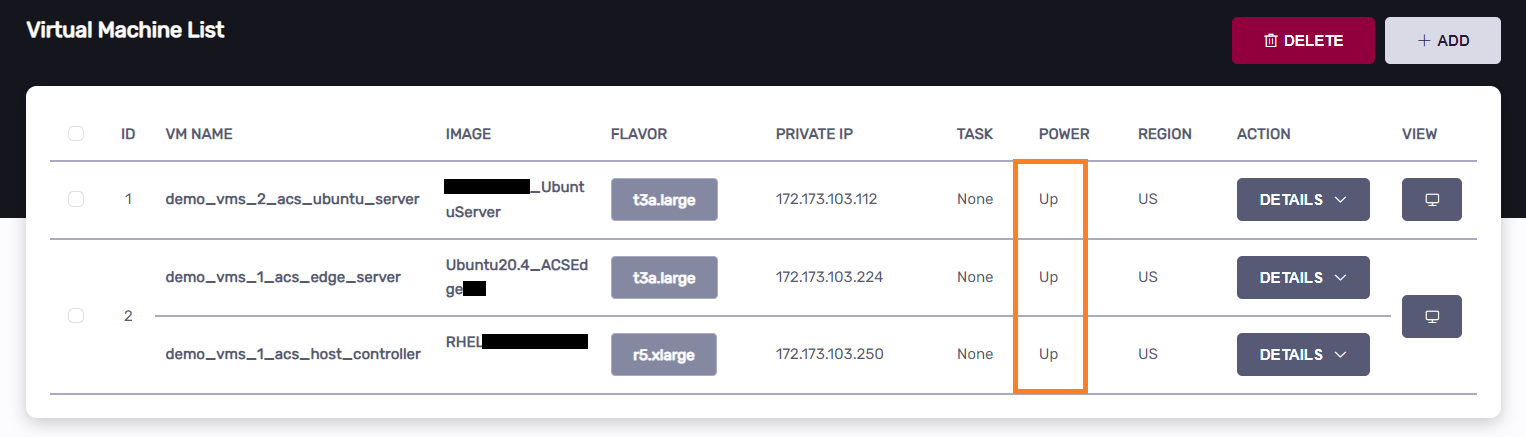
Wait about 5 minutes for the VMs to be created. The new VMs will appear in the virtual machine list with their status as “UP”.
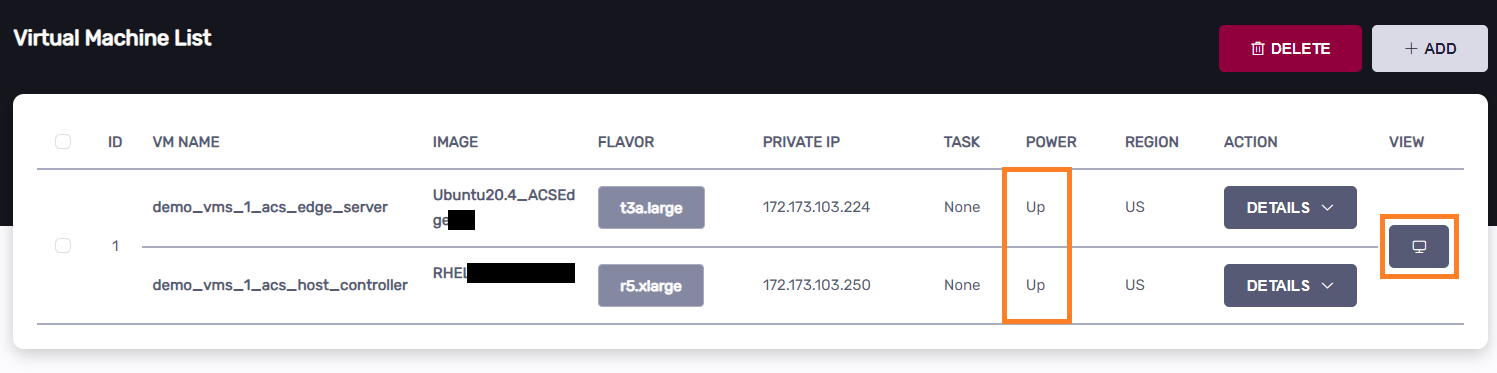
Click the “VIEW” button to access the Host Controller VM when it is ready.
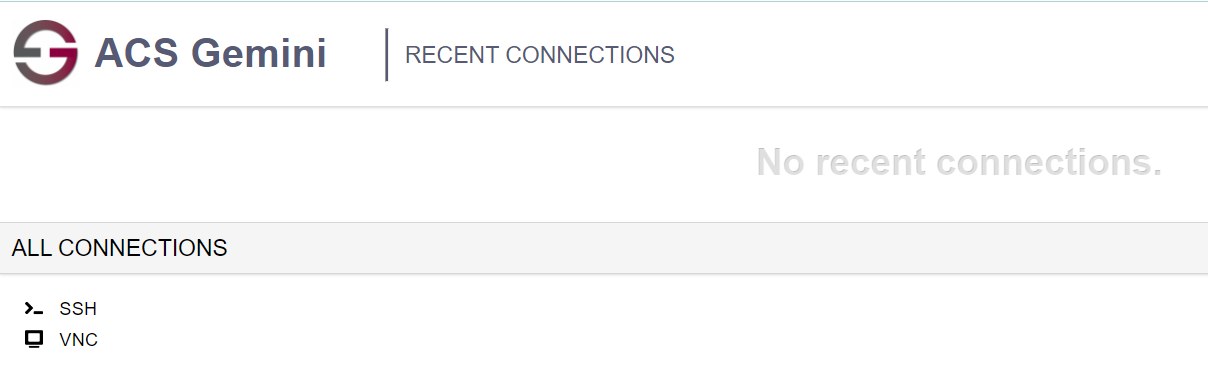
Click the “VNC” button to access the VM in a new tab.
2. Transfer demo program#
Click to download the application-dpat-v3.1.0-RHEL74.tar.gz archive(a simple DPAT algorithm in Python) to your computer.
Transfer the file to the ~/apps directory on the Host Controller VM, refer to the “Transferring files” section of VM Management page.
In the VNC GUI, extract files in the bash console.
cd ~/apps/
tar zxf application-dpat-v3.1.0-RHEL74.tar.gz
3. Configure acs_nexus system service#
Edit /opt/acs/nexus/conf/acs_nexus.ini file.
Make sure the Auto_Deploy option is false
[Auto_Deploy]
Enabled=false
Make sure the Auto_Popup option is true
[GUI]
Auto_Popup=true
Auto_Close=true
Edit the image setting file (create it if it doesn’t exist) located at: /opt/acs/nexus/conf/images.json
The following content is for your reference, enter your own values for the address, user, and password fields.
{
    "selector": {
        "device_name": "demo"
    },
    "edge": {
        "address": "<Edge Private IP>",
        "registry": {
            "address": "registry.advantest.com",
            "user": "<Container Hub User Name>",
            "password": "<Docker Secret>"
        },
        "containers": [
            {
                "name": "dpat-app",
                "image": "adv-ref-apps/adv-dpat-v1:canonical-31",
                "requirements": {
                    "gpu": false,
                    "mapped_ports": [
                    ]
                },
                "environment": {
                    "ONEAPI_CONTROL_ZMQ_IP": "<Host Controller Private IP>"
                }
            }
        ]
    }
}
Finally, restart acs_nexus service to take effect
sudo systemctl restart acs_nexus
4. Start SmarTest.#
In the VNC GUI, open the bash console. Navigate to the demo application directory and execute the shell script to start SmarTest offline.
cd ~/apps/application-dpat-v3.1.0
./start_smt7.sh
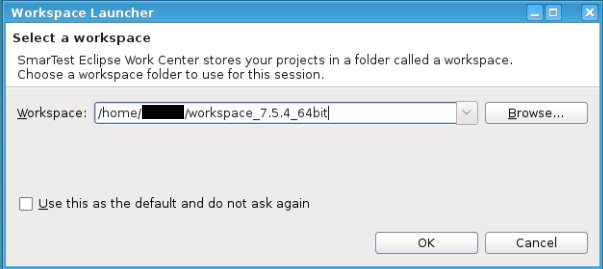
Wait 1-2 minutes for Smartest launching, in the popped up “Workspace Launcher” dialog, click on “OK” button.
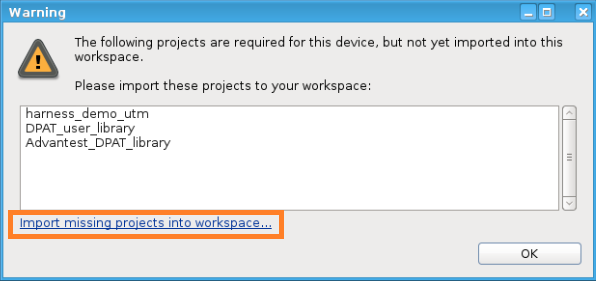
In the popped up warning dialog, click “Import missing projects into workspace…”
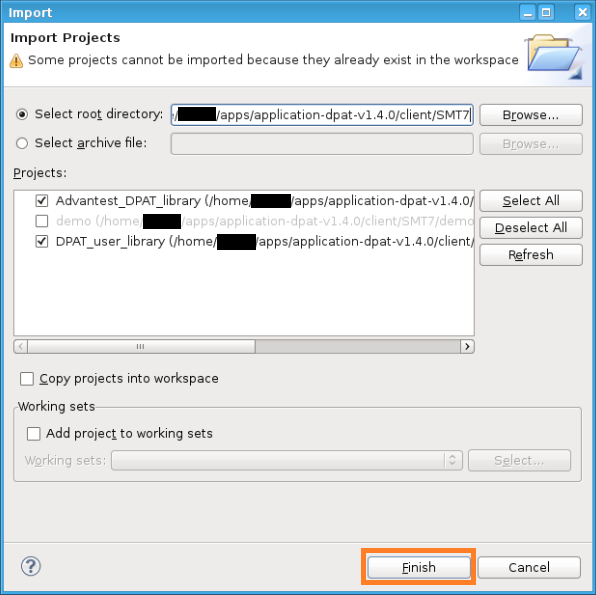
Click the “Finish” button in the next import dialog.
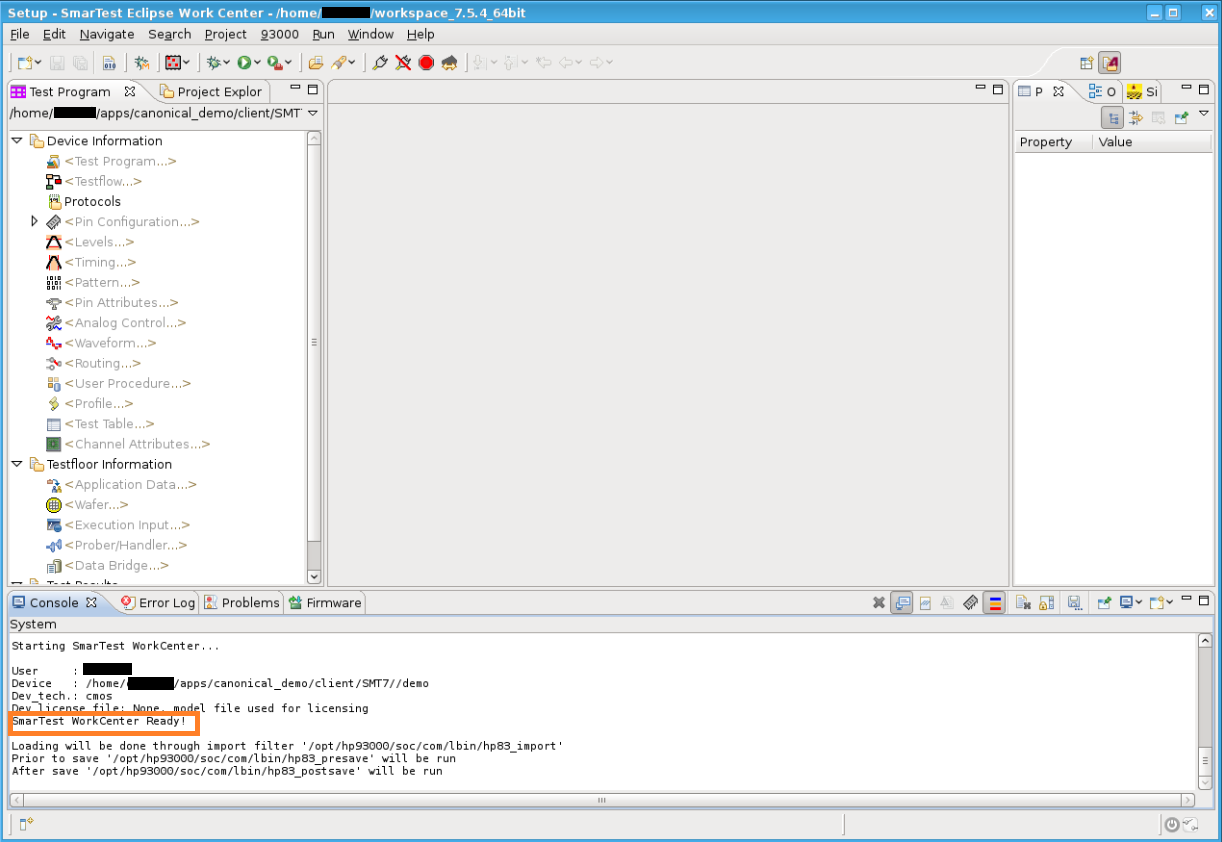
You are now in the SmarTest EWC workspace and should see “SmarTest WorkCenter Ready” in the console.
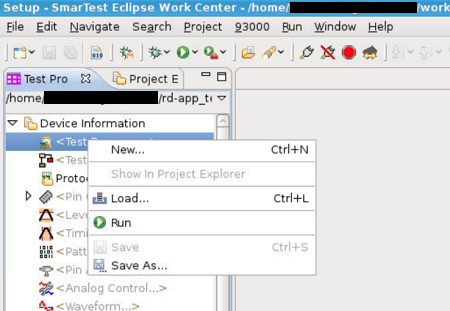
Load the test program “package_dpat”: right-click on the Testprogram entry in the “Test Program Explorer” (located in the left panel) and select “Load…”
5. Start Edge container by running test program.#
Run the test program “package_dpat”: Change to the “Test Program” view, right-click on “package dpat” and click “Run”.
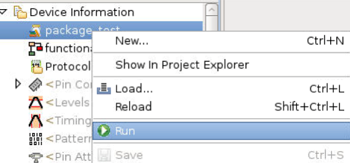
In the popped up “no_of_executions” dialog, input “1” then press “Enter” on keyboard.

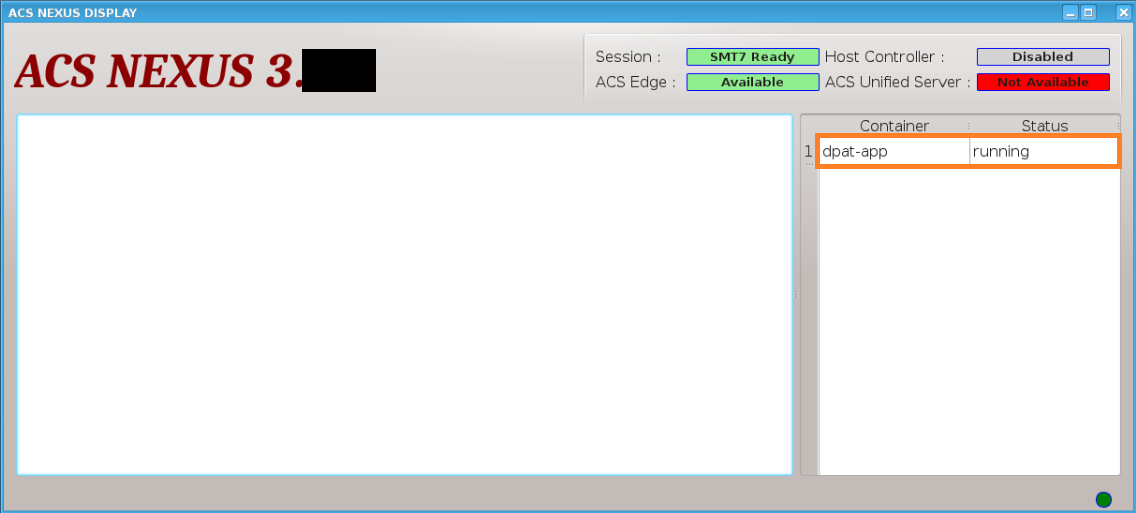
Confirm that the Container Hub app dpat-app is running on the Edge Server
Before you begin, login Container Hub in advance
sudo docker login registry.advantest.com --username Your_Email --password Your_ContainerHub_Secret
Output
Username: (Container Hub username)
Password: (docker secret in Container Hub)
WARNING! Your password will be stored unencrypted in ~/.docker/config.json.
Configure a credential helper to remove this warning. See
https://docs.docker.com/engine/reference/commandline/login/#credentials-store

Login Succeeded
Download container status check tool
cd ~/apps
curl http://10.44.5.139/edge_container_operation.py -O
Confirm the container app is running:
sudo python3 ~/apps/edge_container_operation.py edgesdk3.0.3-prod-v1 list <Edge Private IP>
You can find the app “dpat-app” is running in output
processing...
Running containers:
Name | Created
dpat-app | 2025-08-07-08-58-58
You can also find the app “dpat-app” is running from Nexus GUI
6. Stop container by quitting Smartest#
Click “X” to quit Smartest

When the Smartest ended, wait for 1~2 minutes, confirm the container app dpat-app is not running on the Edge Server
sudo python3 ~/apps/edge_container_operation.py edgesdk3.0.3-prod-v1 list <Edge Private IP>
You can not find the app “dpat-app” is running in output
processing...
Running containers: