JupyterLab development environment#
Purpose#
Develop and debug Python applications by using JupyterLab within a container running on an Edge VM.
Compatibility#
SmarTest 8 / Nexus 3.1.0 / Edge 3.4.0
Prerequisites#
You need to request access to the ACS Container Hub, and create your own user account and project.
Create VMs#
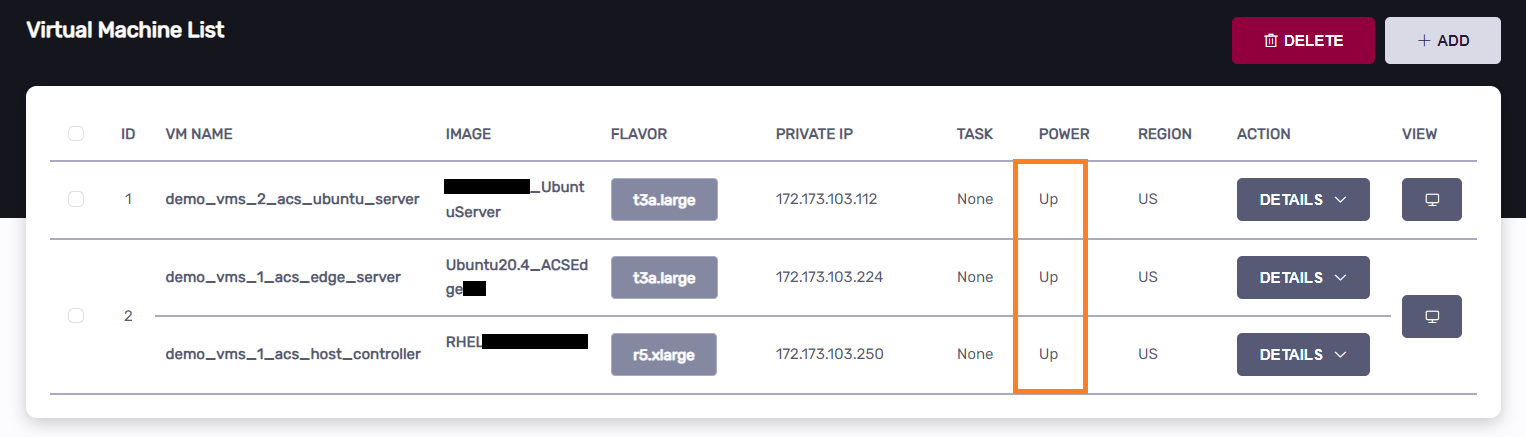
We need 3 VMs as follows:
Host Controller:
Runs SmarTest and Nexus
Edge Server:
Runs the image that contains the Jupyter Kernel Gateway
Ubuntu Server:
Runs JupyterLab;
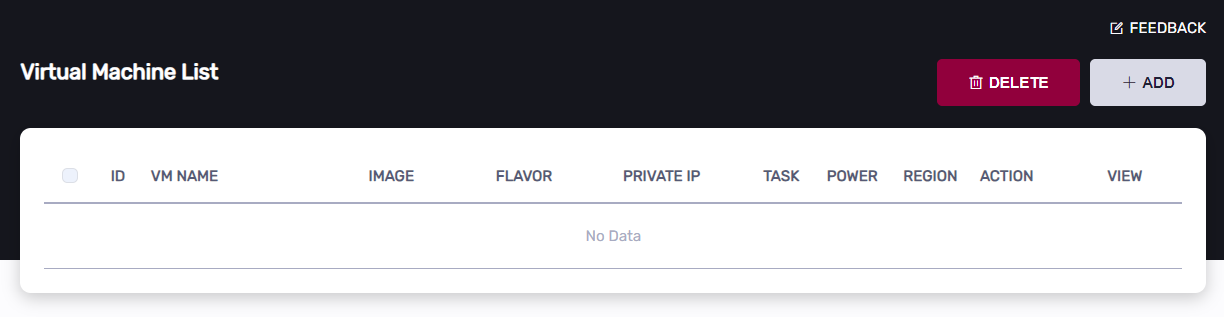
Click the “Add” button to add VMs:
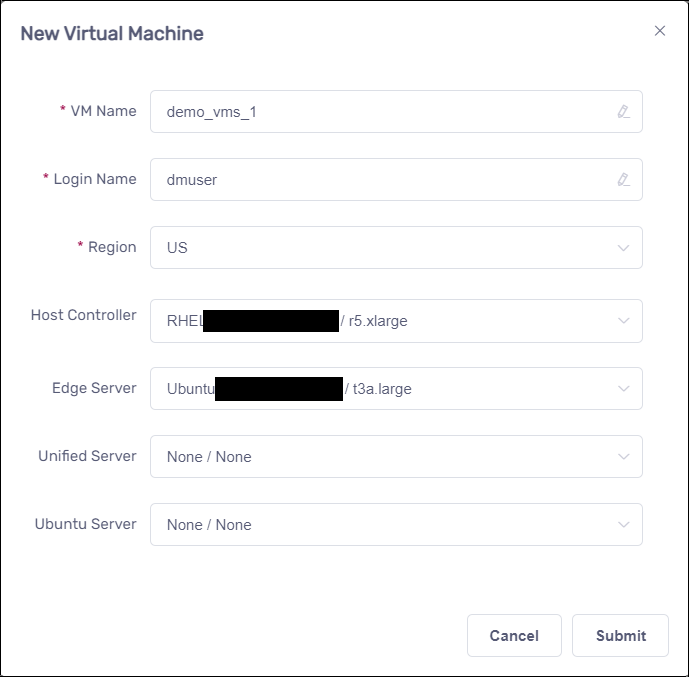
Create Host Controller and Edge Server#
Create Ubuntu Server#
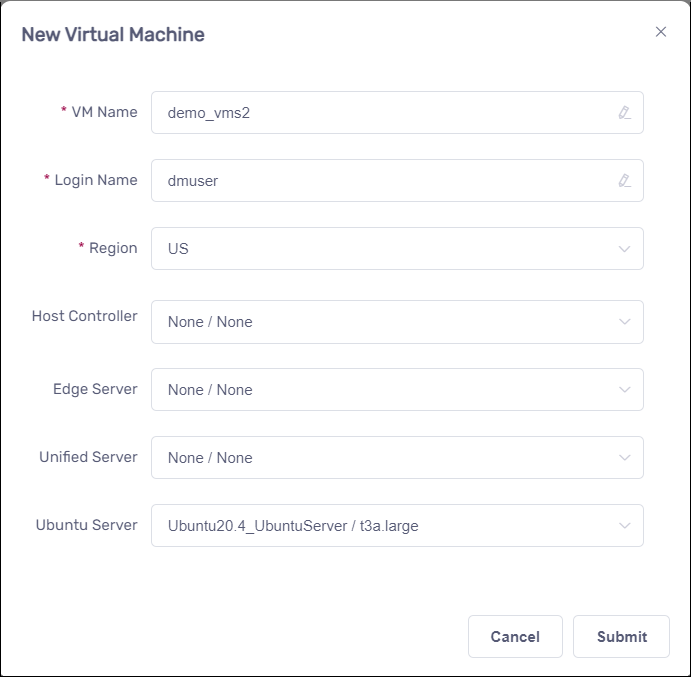
The following screenshot is for your reference;
Build docker image and push it to Container Hub on the Ubuntu Server#
Note: The ‘adv-dpat’ project we are using below is for demonstration purposes. You will need to replace it with your own project accordingly.
Please enter the Ubuntu Server and open a terminal
Log in to the Container Hub
docker login registry.advantest.com --username Your_Email --password Your_Password
Download the artifacts
cd ~
rm -rf jupyter_lab_environment
curl http://10.44.5.139/jupyter-dpat/jupyter_lab_environment_3.1.0.tar.gz -O
tar -zxf ./jupyter_lab_environment_3.1.0.tar.gz
mv -f jupyter_lab_environment_3.1.0 jupyter_lab_environment
Build image
cd ~
curl http://10.44.5.139/docker/python39-basic20.tar.zip -O
unzip -o python39-basic20.tar.zip
docker load -i python39-basic20.tar
docker build ~/jupyter_lab_environment/rd-app_dpat_py/ --tag=registry.advantest.com/adv-dpat/adv-dpat-v1:Your_Image_Tag
Push image
docker push registry.advantest.com/adv-dpat/adv-dpat-v1:Your_Image_Tag
Run TestProgram#
Note: The ‘adv-dpat’ project we are using below is for demonstration purposes. You will need to replace it with your own project accordingly.
Config acs_nexus service on the Host Controller#
Create image configuration file: /opt/acs/nexus/conf/images.json
{
    "selector": {
        "device_name": "demoRTDI"
    },
    "edge": {
        "address": "ChangeToEdgeIp",
        "registry": {
            "address": "registry.advantest.com",
            "user": "ChangeToUserName",
            "password": "ChangeToSecret"
        },
        "containers": [
            {
                "name": "dpat-app",
                "image": "adv-dpat/adv-dpat-v1:ChangeToImageTag",
                "requirements": {
                    "gpu": false,
                    "mapped_ports": [
                        "9990:8888/tcp"
                    ]
                },
                "environment" : {
                    "ONEAPI_DEBUG": "3",
                    "ONEAPI_CONTROL_ZMQ_IP": "ChangeToHostControllerIp"
                }
            }
        ]
    }
}
Edit /opt/acs/nexus/conf/acs_nexus.ini file.
Make sure the Auto_Deploy option is false
[Auto_Deploy]
Enabled=false
Make sure the Auto_Popup option is true
[GUI]
Auto_Popup=true
Auto_Close=true
Restart acs_nexus service to take effect
sudo systemctl restart acs_nexus
Activate test program on the Host Controller#
Click to download the application-dpat-v3.1.0-RHEL74.tar.gz archive(a simple DPAT algorithm in Python) to your computer.
Note that: If you are using “RHEL79_ST8.7” VM image for running SMT8, you can download the application-dpat-v3.1.0-RHEL79.tar.gz archive, it contains code enhanced SMT8 test method codes.
Transfer the file to the ~/apps directory on the Host Controller VM
Please refer to the “Transferring files” section of VM Management page.
In the VNC GUI, extract files in the bash console.
For RHEL74:
cd ~/apps/
tar -zxf application-dpat-v3.1.0-RHEL74.tar.gz
For RHEL79:
cd ~/apps/
tar -zxf application-dpat-v3.1.0-RHEL79.tar.gz
Start SmarTest8 by the bash script
cd ~/apps/application-dpat-v3.1.0
sh start_smt8.sh
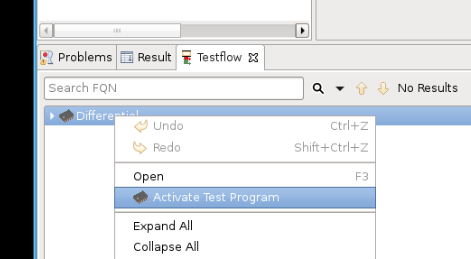
Activate Testflow:
To activate the Testflow, you’ll need to right-click on the Testflow entry at the bottom and then select “Activate…”:
Note: In Redhat 7.9, it is the “Activate and Reset Test Program”
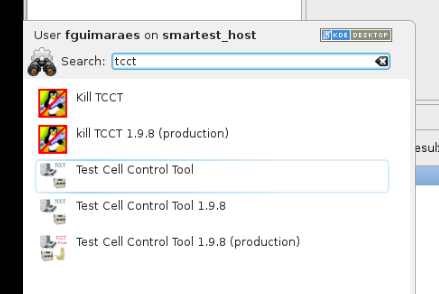
From the Red Hat menu, open TCCT:
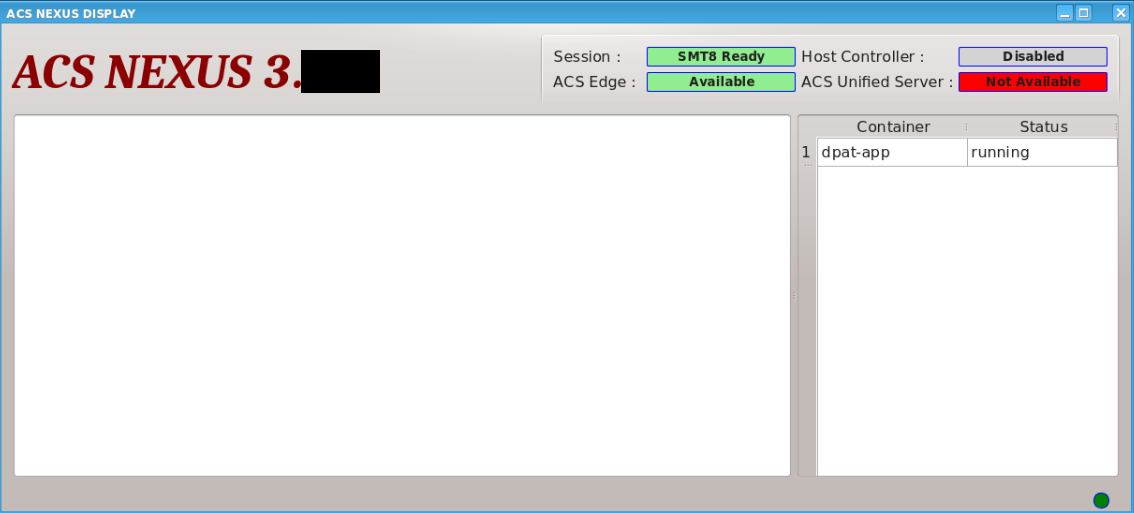
Click on “Select Test Program”, select the “Differential” testflow and then “OK”:

By running TCCT (just selecting the testprogram), an event is triggered and the DPAT container automatically starts running on the ACS Edge Server.
Use Jupyter Lab to run DPAT app on the Ubuntu Server#
Log in to VNC on the Ubuntu Server and open a Terminal:
Create config file
echo >~/jupyter_remote_kernel.py
echo c.ContentsManager.allow_hidden = True >>~/jupyter_remote_kernel.py
echo c.FileContentsManager.allow_hidden = True >>~/jupyter_remote_kernel.py
echo c.GatewayClient.url = "'http://Edge_Server_Ip:9990'" >>~/jupyter_remote_kernel.py
echo c.GatewayClient.validate_cert = False >>~/jupyter_remote_kernel.py
Start JupyterLab
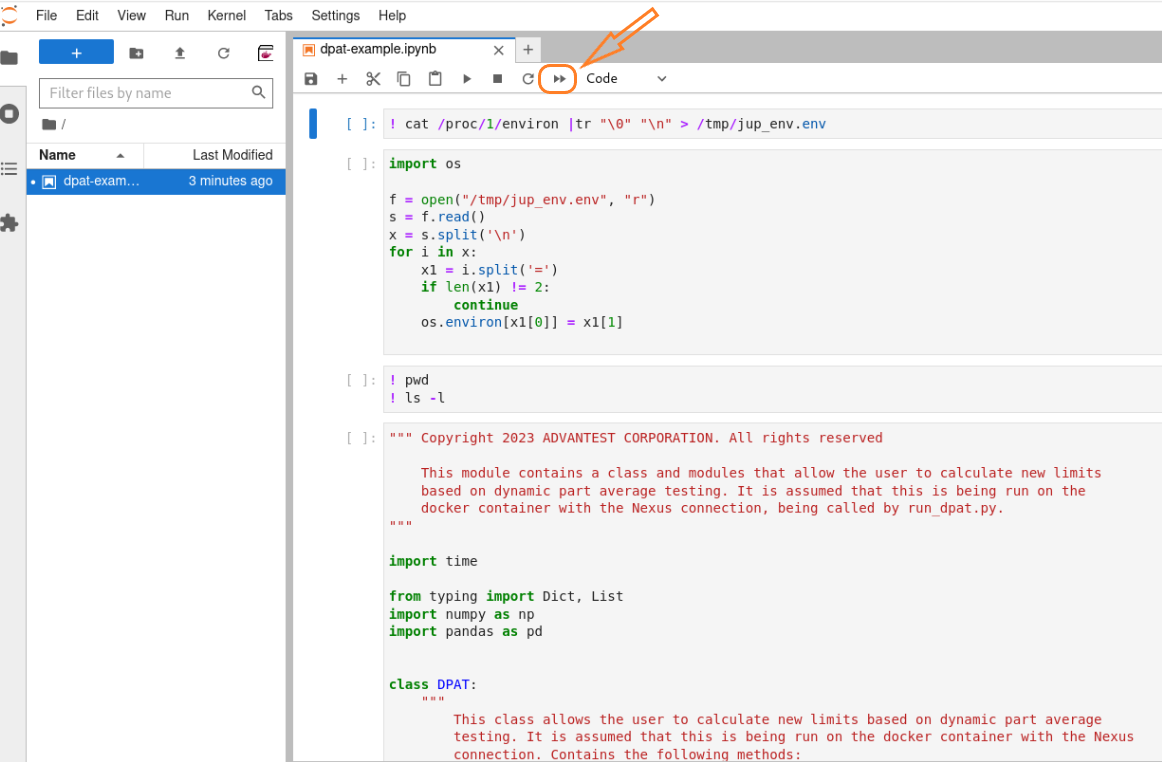
jupyter lab stop 8888
jupyter lab --config=~/jupyter_remote_kernel.py --port=8888 ~/jupyter_lab_environment/notebook/dpat-example.ipynb
Wait for a while, and the browser will start automatically;
Run all cells
Open dpat-example.ipynb and run all cells
Run Test Program on the Host Controller to invoke DPAT app#
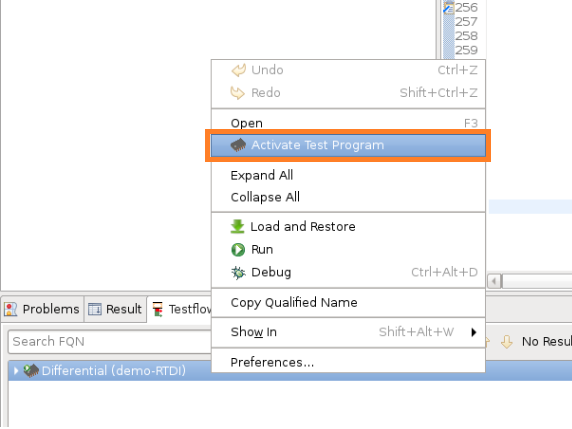
In test flow view, right-click “Differential(demo-RTDI)” testflow, then click “Activate Test Program”
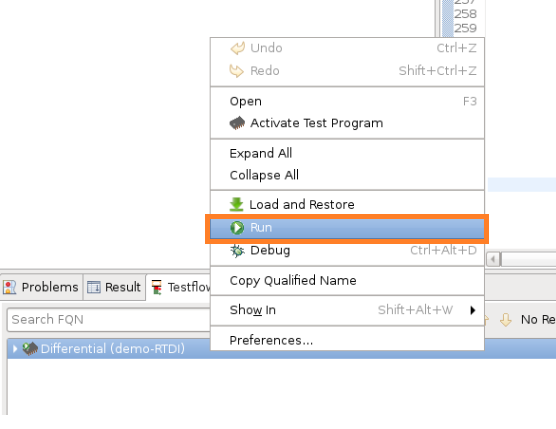
right-click “Differential(demo-RTDI)” testflow, then click “Run” to run the testflow
You can view the logs in the Jupyter Lab.